Painting floor tiles
Ceramic tiled floors can look elegant and give any property an edge, but after a period they can look tired and unappealing. Bill Lumley looks at the idea of giving them a new lease of life with specialist tile paint.
By far the most common approach to addressing a tired tiled flooring is to replace the tiles altogether. This is inevitably a long and costly process.
Consensus is that painting a tiled floor is not an effective remedy given the amount of wear and tear it is going to endure, especially so in a commercial environment such as a luxury B&B.
And this is true up to a point. But there are paints available that have the durability to withstand high wear from shoes and even trolley wheels over a prolonged period of time.
Unsurprisingly these products tend to be significantly more costly than general use commercial paint, and unlike such paint these specialist ones require a very much higher level of attention to detail from preparation to drying the second coat in order to achieve a successful and durable finish that is not susceptible to flaking or fading.
They also necessitate a good deal more care and attention during the preparation process as well as the actual painting stage. This is not something that can be done in just a day, and the aroma of specialist tile paint is very strong, so you would be advised not even to think about taking on the job while you have paying guests.
But if you do have a tiled floor that could do with refreshing, keep in mind that in painting the floor you will be doing something that avoids the cumbersome and destructive process of having to rip out your old tiles and the associated mess.
Specialist floor tile paint is noticeably more expensive than most wall or wood paint. The cost per square metre works out at roughly £20 per square metre, so you would be advised to take that into consideration when evaluating whether you’d prefer to keep your existing tiles.
Life expectancy
Treated properly a painted tile surface can keep its sheen for up to perhaps a decade. There are examples of floors painted that after one year show a small amount of normal wear and tear, but nothing that wouldn’t happen with any floor.
Ben Pickford at Rawlins Paints in Leeds says he does not guarantee a life expectancy for floor tile paints because there are so many variables, including usage and, of course, attention to detail when during preparation. “They may last five years before they need repainting, or they may last 10,” he says.
He tells Luxury Bed & Breakfast magazine: “When customers contact us about painting tiled floors we tend to recommend Smartkote Protectakote Clear Primer Treatment.
“When they contact us about painting tiled floors we tend to recommend Smartkote Protectakote Clear Primer Treatment. It is a single component primer treatment, which can be used to prepare inorganic surfaces for the subsequent adhesion of Smartkote polyurethane coatings. This product ensures excellent adhesion of reactive, solvent-borne urethanes to unreactive inorganic surfaces without changing their appearance.”
Smartkote Safekote meanwhile is a ready-to-use polyurethane coating that provides an attractive, abrasion-resistant anti-slip surface. The fine texture is provided by small silica particles which will not hurt bare feet, making it ideal for showers, change rooms, ablution blocks and other surfaces in environments such as hospitals, hotels or children’s playgrounds, he says.
“When customers are looking for an anti-slip finish or when they require a smooth finish we suggest Rust-Oleum 3333 Super Adhesion Primer followed by Rust-Oleum 9200 Rust-O-Thane in their chosen colour then at least one coat of clear to finish,” Ben advises.
Colour tips
The choices of tone and texture are more marked than with conventional wall paints. You may decide to paint over faded red tiles, and in so doing transform your room. Grey paint gives tile more of a matte look, which can enhance the spatial appearance of the room.
Outdated brown floors can also be transformed with grey paint for instance to give the space a farmhouse feel, rather than the rustic look of the brown tones.
Preparation
It is very important to clean your floor extremely well before you start and not to skimp on any materials. If you have tiles that will undergo sanding then it is a good idea to sand your floors before your start, to give the paint a rough surface for the paint to adhere to.
Once you have finished painting it is also recommended that you use a high-quality sealant to protect your painted floors.
Regularly sweeping helps to avoid a buildup of dirt and grime.
Be sure to put felt furniture pads on the bottoms of chair legs to avoid scratches, and use neutral pH solvents when you need to do a deep clean.
Work in progress
Having embarked on researching this feature and unsure as to whether I would be offering misleading advice or championing something that would not work, I took it upon myself to try out the painting process on the floor tiles in my own kitchen to assess the wisdom of the very suggestion that anyone might care to paint their floor tiling.
I opted to paint some 10 square metres of brown ceramic tiles a pale grey colour. The procedure I followed was to sweep then scrub the existing tiles. I found them too resilient to be susceptible to abrasion from sanding so I pressed on and put down a coat of primer. This dried very quickly in about 20 minutes, after which I coated the entire floor as evenly as I could with Smartkote Safekote, a paint with a slightly glossy finish.
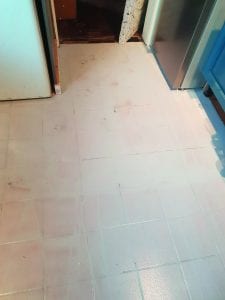
After it had been left to dry for five hours and in urgent need of access to the kettle, I walked across the floor wearing black socks. The immediate effect was to cause black footprints to smear the surface, as illustrated opposite, which had felt perfectly dry to the hand at the time. Clearly more drying time must be allowed for.
The areas where I had failed to fill in the grouting also caused the noticeable, shadowy appearance of intermittent 3mm cracks, an effect enhanced by the gloss nature of the paint.
With still a second coat to go the results already illustrated how complicated floor tile painting is. The colour itself opens up the bright aspect of the room, which was one of the effects we were hoping for, but there are many variables that need full attention.
As we go to press, I am yet to apply the second coat. Christmas stands in the way of the delivery of a further tin of paint for a start. But admiring the floor 24 hours after the first coat dried I am left with an overwhelming confidence that the final coat followed by three coats of fast-drying clear gloss polyurethane will leave a fine quality and durable finish.
And I will let you know if it doesn’t.
Tips for painting a tile floor
- Clean the tiles and grout thoroughly using water and a mop.
- Be sure to open all the windows and set up fans.
- Repair any missing grout or cracked tiles
- Working in small sections, apply the primer to the grout with a brush and to the tiles themselves with a long handled roller.
- Let the primer dry completely.
- Once dry, begin rolling the floor tile paint over the tiles in smooth even strokes.
- Let the first coat dry for two days.
- Apply a second coat and let dry for two more days.
- Finally, roll three coats of polyurethane over the entire floor allowing for ample drying time in between each coat.
How to remove paint from tile floor
In case you’d like to remove some or all of your existing floor tile paint, it is advisable to use a commercial paint remover made specifically to suit your particular type of floor tile. Apply it to the surface using a cloth, and then remove everything using another clean, damp cloth. For a less caustic and more natural alternative you can also use a mixture of equal parts warm vinegar and water to remove the paint.
Floor stencils
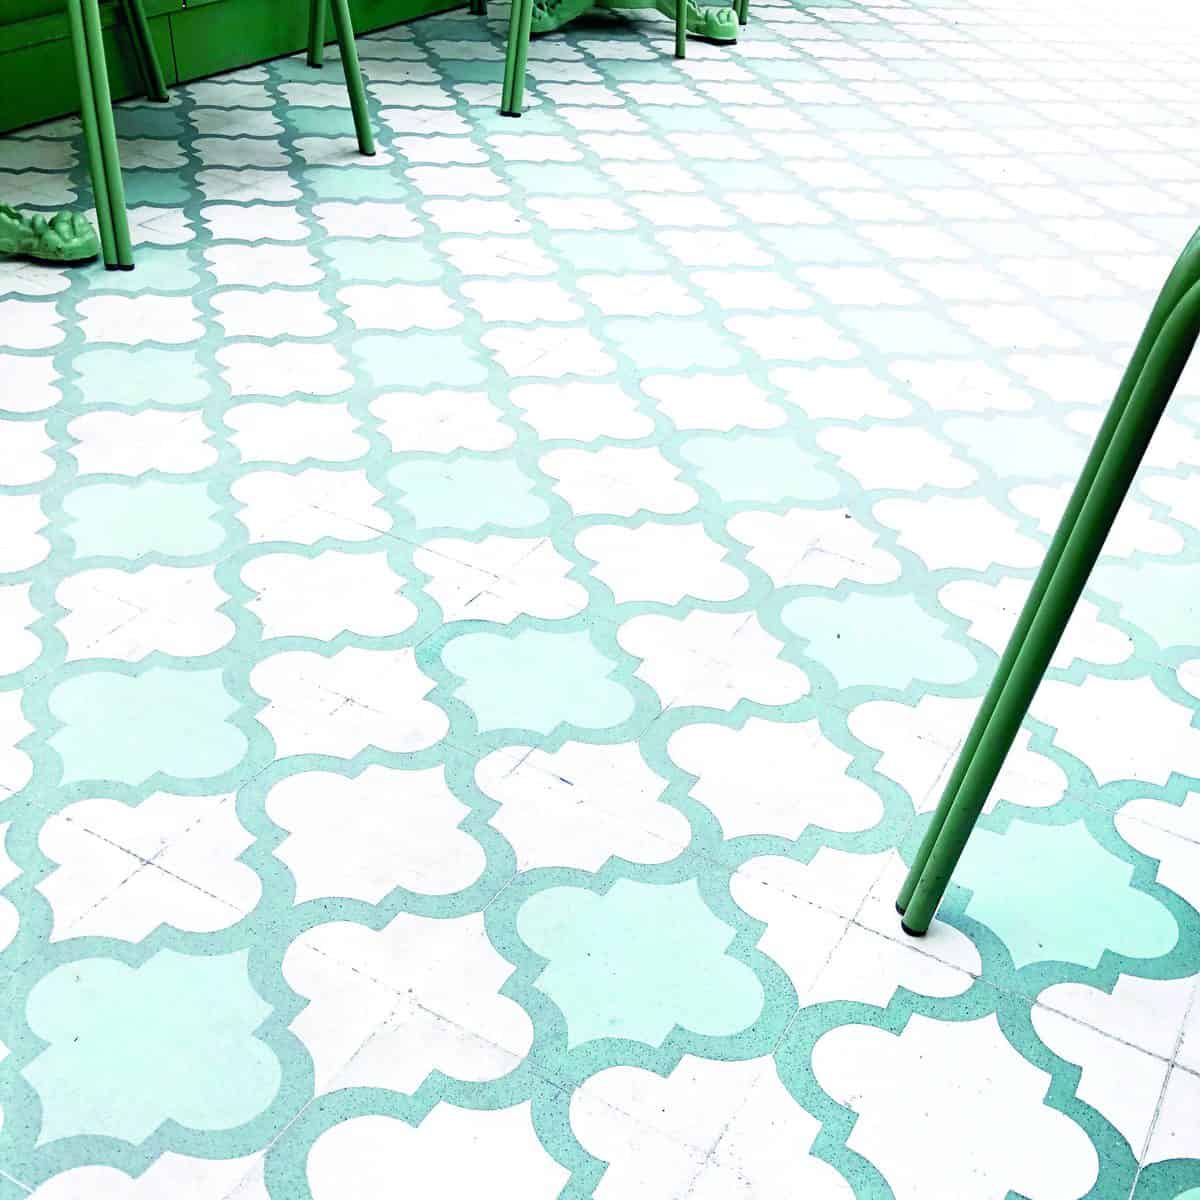
Stencilling is a great way to use paint to change up the look of your tiled floor and the extra effort pays off.


